Welcome to your journey of improving your business with the power of Artificial Intelligence of Gloria AI.
Configuring Gloria for your website is a strategic step towards optimizing customer interactions. You’re about to unlock a new level of efficiency and personalized service that your customers will love.
The following guide is designed to provide a clear and comprehensive path to integrate Gloria AI easily into your website.
Whether you have expertise in technology or familiarity with AI, this comprehensive guide is designed to facilitate a straightforward and assured setup of Gloria.
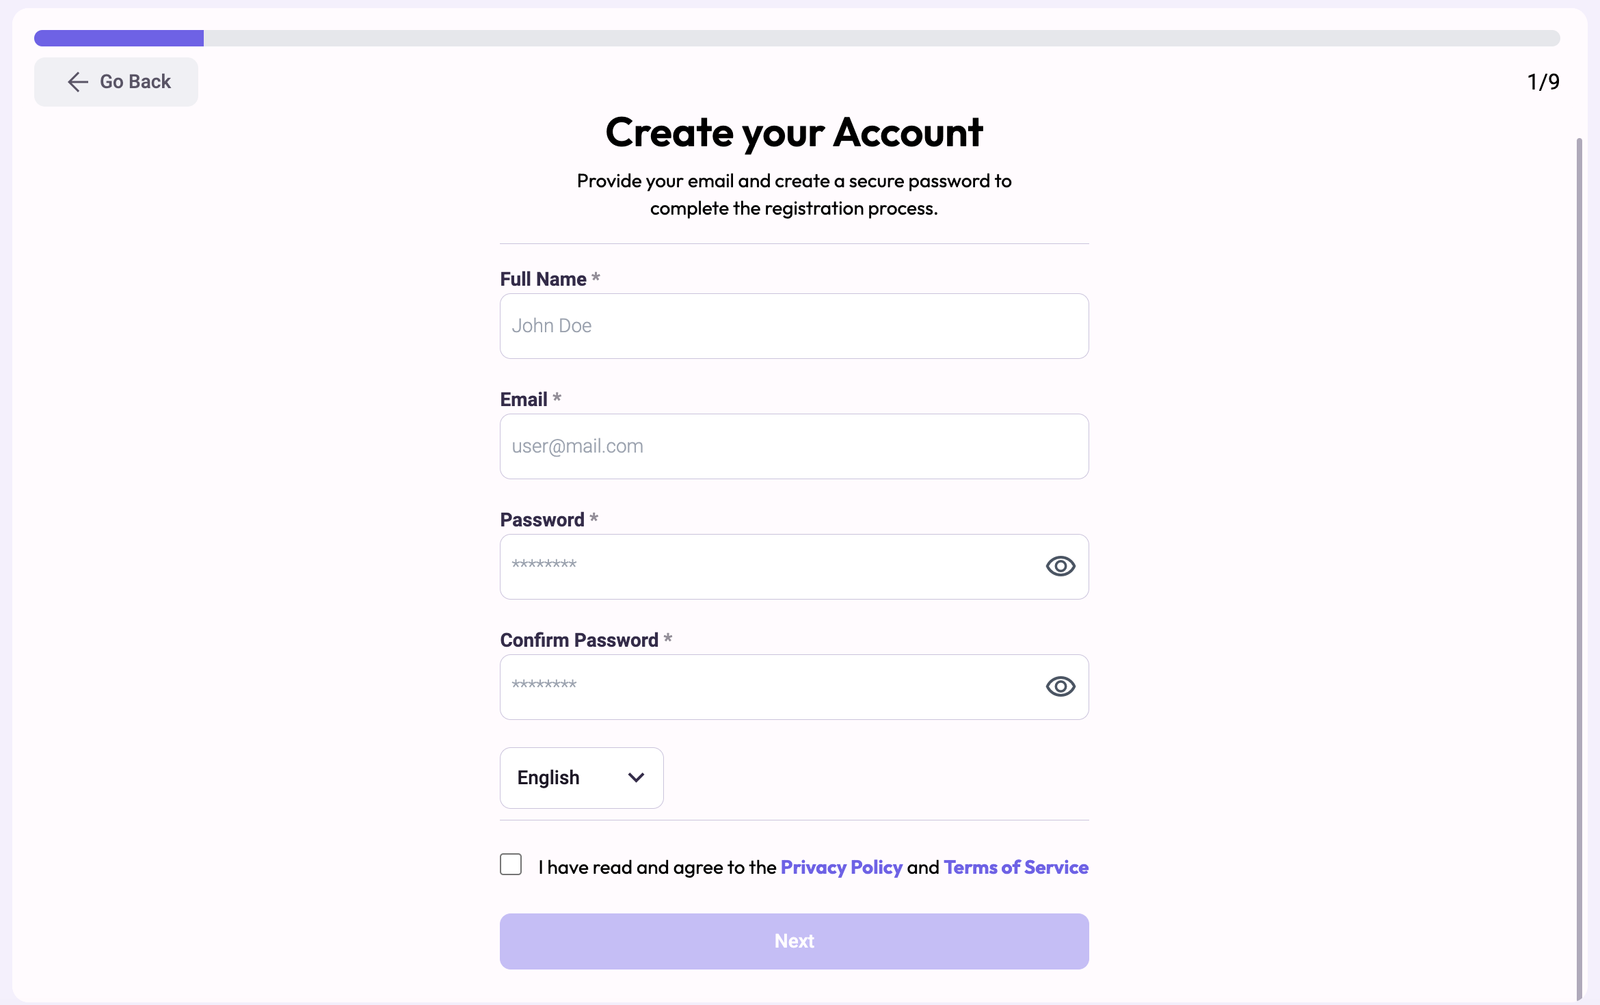
Step 1: Create Your Account #
- Navigate to the Gloria AI platform.
- Click on the Sign Up or Register button.
- Fill out the registration form with your personal and company details.
- Set a strong password for your account to ensure security.

Step 2: Select Your Plan #
- Choose between our Free, Basic, Essential, or Professional Plan.

Step 3: Link Gloria to Your Website #
- Add your Business name and Business Website so Gloria can read it and start answering right away.
- If you prefer, you can choose to teach Gloria personally with text, other links, and files.

Step 4: Add Business Communication Channels #
- Your business email and support phone will be public information that Gloria can provide to your customers.

Step 5: Complete Your Personal Information #

Step 6: Identify Your Company’s Main Industry #
- This way Gloria can adapt her responses to that industry accordingly.

#
Step 7: Determine How Gloria Will Keep You Updated #
- Put an email and a phone number you want Gloria to let you know in real-time about new leads or customer requests.


Step 8: Install Gloria on Your Website #
- Select a Platform and then read the installation instructions so you can start using the power of Gloria AI.

Confirmation Email #
- Verify your email address by clicking on the verification link sent to your email.

Dashboard After Configuration #
- Now you can start using all of our features.

Access Portal to Login #
- Enter here to log in with your account.


